A tight backyard or an awkward side yard does not have to limit outdoor fun. Smart deck planning lets you carve out room for chairs, a grill, and even storage without draining your wallet. In this guide, you will learn space-saving tricks that work on plots large and small. We cover layout, framing, materials, and add-ons that expand usable square feet while keeping costs in check. Whether you build yourself or hire a pro, the tips below rely on common tools, off-the-shelf lumber, and hardware you can find at any home center. Grab a tape measure, sketch pad, and an afternoon of clear thinking—you’re about to see how far a modest budget can stretch.
Measure Before You Draw
Start with numbers, not guesswork. A quick site sketch that shows property lines, doors, windows, and utilities keeps surprises away. Local building code often calls for a 36-inch clearance in front of patio doors and a 4-foot gap from gas meters, so mark those first. Check slope with a four-foot level; a deck should sit above grade yet low enough to meet railing limits. Note sun paths to spot where shade or an awning might be needed later. Keep ledger width in mind—many entry-level decks use a 2×8 ledger, but a 2×10 lets you span farther with the same joist count. Leaving room for ¾-inch siding behind flashing prevents water traps. With these measurements locked in, every board you buy will have a place and purpose.
Pick the Right Shape
A rectangle is quick to build, yet corners can waste walk space. Switching to a simple “L” or “T” plan pulls seating into one wing and a grill into another, freeing the main path. Shapes worth considering:
- Rectangle: fastest layout, least waste
- L-Shaped: hugs two walls, easy traffic flow
- Octagon Bump-Out: adds room for a table without a full framing redo
- Picture-Frame Edge: hides board ends; needs only one extra joist line
Use 45-degree corners sparingly—they raise cut time and scrap. Instead, scribe gentle curves with plywood templates and cut decking with a jigsaw set to a slow speed; curves soften tight yards and guide foot traffic naturally. Keep span tables handy: a 2×6 southern pine joist ledged on both sides can span 9’3″ at 40-pound live load, enough for a small bump-out without extra beams.
Multi-Level Deck Magic
When the ground drops more than 18 inches across the site, stepping the deck creates room instead of losing it. A low landing off the back door handles daily foot traffic; two steps down, a lounge pad rests just above grade, avoiding tall guardrails that block views. Tie levels with a continuous stringer so stairs occupy one corner, not the middle. Use joist hangers rated for 600-pound uplift where tiers meet—this secures each platform without bulky posts that swallow floor space. Keep rising and running steadily; uniform steps feel safer at night and meet code. By stacking functions—dining up high, a spa mid-way, storage below—you pack three rooms into one footprint without paying for extra yard or concrete.
Framing That Saves Inches
Most budgets lean on 2×8 joists, spaced 16 inches on center. Shrinking spacing to 12 inches lets you use slimmer 5/4 decking—often cheaper per square foot—while staying within deflection limits. Cantilever rules allow joists to project one-quarter of their back span without beams; a 10-foot joist can extend 2½ feet beyond, picking up extra floor area at no extra post cost. Switch from solid blocking to metal X-bracing between joists to stiffen the frame and free the cavity for hidden wiring or drainage. Lag screws cost less than through-bolts yet meet shear values when used with washers and sealed with approved tape. Each small framing tweak trims either material or labor without shaving strength.
Slim Yet Strong Boards
Decking choice drives both look and budget. Compare three common options:
- Pressure-Treated Pine
- The least expensive initial cost
- Accepts stain; needs re-coat every two years
- Cedar or Redwood
- Natural rot resistance
- Lighter weight eases footings
- Grooved Composite
- Hidden-clip install speeds the layout
- Twelve-inch joist spacing stops bounce
Composite boards can be ripped lengthwise for stair treads because they keep full strength across the grain, unlike solid wood. Suppose you opt for thin 7/8-inch “balcony” planks, screw fasteners at a 90-degree angle through the ridges to reduce mushrooming. Always seal cut ends of treated lumber with copper naphthenate; it slows decay by one to two decades, stretching replacement cycles.
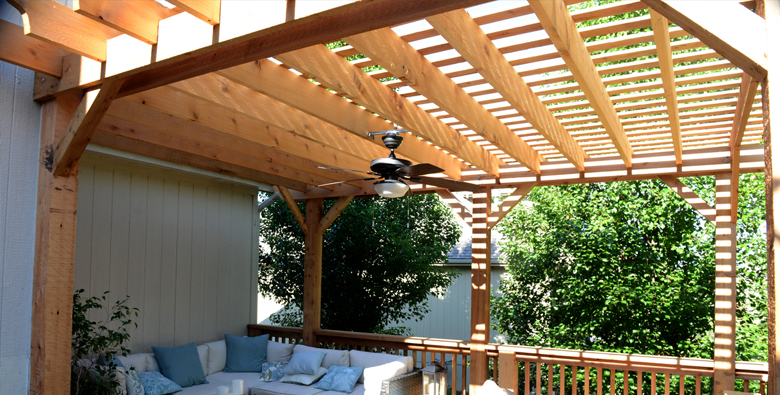
Built-In Seats and Steps
Furniture eats square footage fast, so make it part of the frame. A 16-inch-high bench doubles as a guard where drop-offs are under 30 inches; notch posts through the bench back and attach 2×4 slats with deck screws. Under the seat, leave a hinged lid for garden tools or seat cushions—no extra shed required. Wide “box” steps solve two tasks: they bridge a door threshold and offer casual seating during parties. Keep tread depth around 18 inches; that feels natural for sitting and meets stair codes when paired with a 7-inch rise. By merging structure and furniture, you avoid buying stand-alone pieces that clutter walkways and soak up funds.
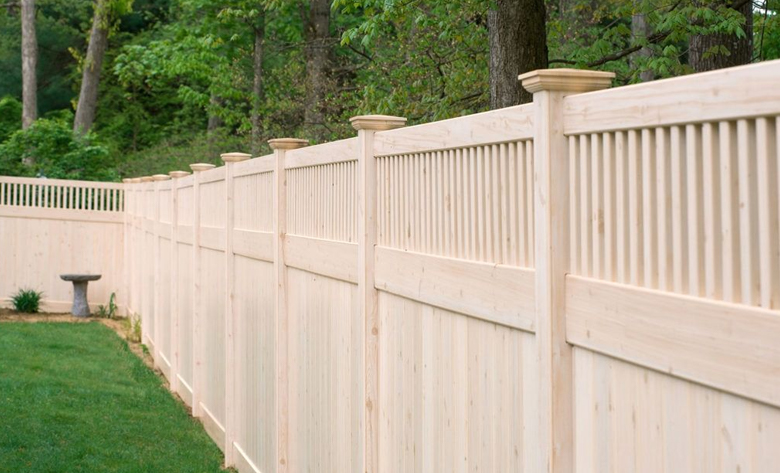
Railings That Open Views
Tall picket rails keep kids safe, but crowd narrow decks. Open designs like stainless cable, hog wire panels, or tempered glass widen sight lines, making tight spaces feel larger. Key spacing: under 4 inches between cables or wires to pass safety checks. For glass, 10-millimeter panels resist wind loads up to 40 pounds per square foot; mounts should be stainless or powder-coated steel to prevent rust streaks on boards. Use a 2×4 top cap; it hides post brackets and serves as a handy plate rail. Many off-the-shelf cable kits install with two wrenches and a drill, bringing high-end looks within reach of a modest budget.
Smart Storage Underfoot
The area below a raised deck often gathers leaves instead of value. Install a simple under-deck drainage membrane pitched ¼ inch per foot toward a gutter, then pour a gravel pad for mower storage. Keep the beam height at least 6 feet 6 inches above grade if you plan to walk below. Use galvanized mesh between joists before the membrane goes on; this blocks rodents without blocking airflow. Ventilation is key—moisture buildup can cut timber’s life in half. A lockable lattice skirt adds security while letting cross-breezes pass. With a dry zone beneath, you gain a “bonus shed” without pouring a slab or framing new walls.
Lighting for Usable Nights
A small deck feels larger when you can see its edges after dusk. Low-voltage LED strips tuck under rail caps and draw less than 3 watts per foot, so a 60-watt transformer covers an average 16×12 deck with room to spare. Place puck lights on stair risers and every other tread to guide steps; the code requires at least one light switch at the deck entry, but wireless remotes cost less to run wire through finished walls. Keep wires in conduit when they pass through joists—future board swaps stay safe and quick. Warm-white (around 3000 K) bulbs match indoor light, making the deck feel like an extra room rather than an add-on.
Stretching Value Long Term
Good design keeps both square feet and dollars where they belong—working for you, not draining your budget. By measuring first, picking shapes that guide traffic, stacking levels, and choosing slim, powerful materials, you gain room without expanding your footprint. Built-ins replace bulky furniture, open railings pull the yard into view, and smart lighting turns night into bonus hours. Every technique here relies on basic tools, widely stocked parts, and clear rules of thumb so any homeowner can plan with confidence. Keep maintenance simple, check fasteners each spring, and your space-saving deck will reward you year after year with fresh air, shared meals, and a welcome sense of breathing room.